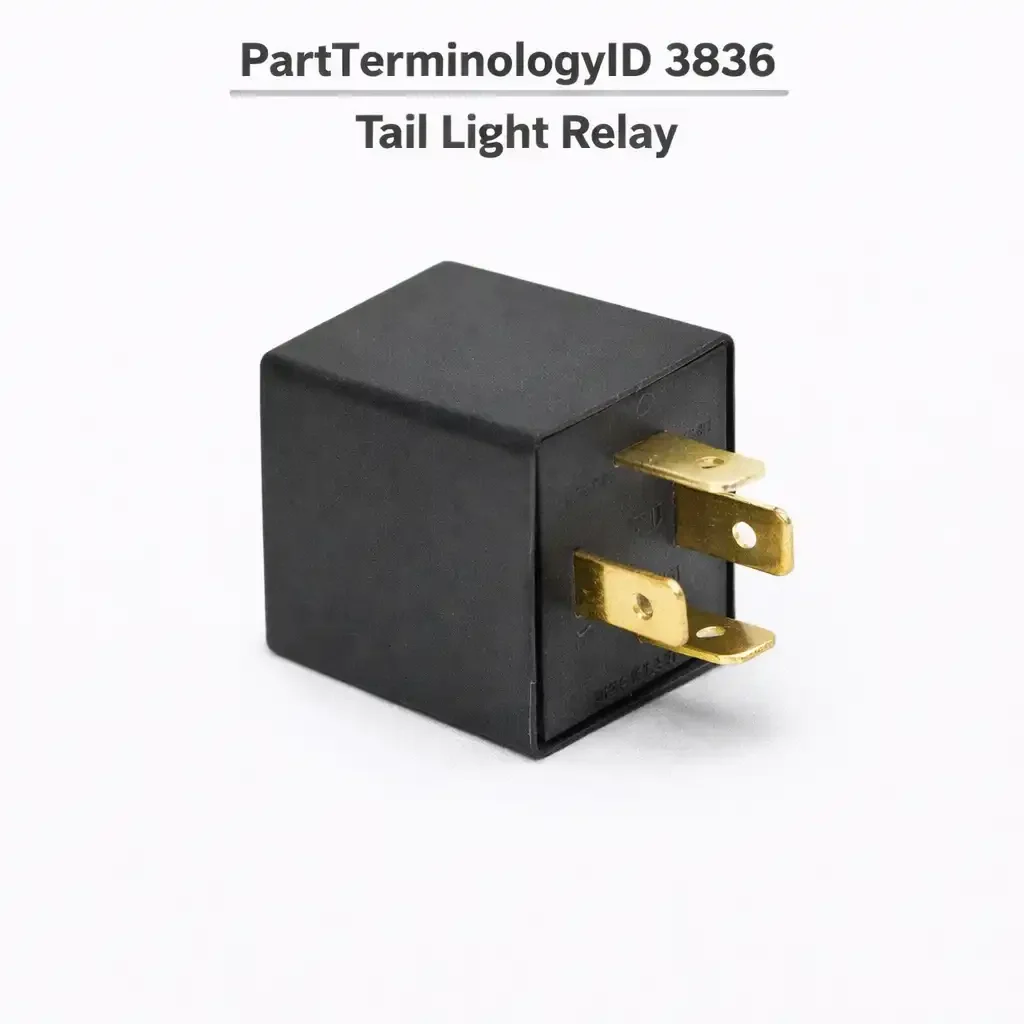
Tail Light Relay (PartTerminologyID 3836): Diagnosis, Return Prevention and Listing Guide
The Tail Light Relay, cataloged under PartTerminologyID 3836, is the relay that delivers the parking-lamp-switched supply voltage to the rear tail lamps, front parking lamps, instrument cluster backlighting, and license plate lamps when the driver activates the headlight switch to its first position. On platforms that use this relay, the headlight switch sends a low-current coil activation signal to the relay rather than passing the full lamp load current through the switch contacts directly. The relay's contacts close in response and supply battery voltage to all loads on the tail lamp circuit simultaneously. This arrangement protects the headlight switch from arc erosion, reduces the switch contact current to coil-level milliamps, and provides a single point of control for the entire parking lamp and instrument illumination circuit.
The Tail Light Relay is one of the more diagnostically distinctive relays in the exterior lighting catalog because its failure takes out a predictable and recognizable group of loads all at once. When the tail lights, front parking lamps, instrument cluster backlighting, and license plate lamps all fail simultaneously while the brake lights, turn signals, and hazard flashers continue to operate normally, the fault is almost certainly in the tail light circuit at or upstream of the relay: the relay itself, the relay coil supply, the fuse, or the headlight switch trigger path. Any buyer who can describe this symptom cluster has performed a useful pre-diagnosis before opening a catalog.
Not all platforms use a discrete externally replaceable Tail Light Relay. Older domestic vehicles often route the full tail lamp current through the headlight switch contacts without any relay in the circuit. Modern Nissan platforms use an Intelligent Power Distribution Module that contains the tail lamp relay function as an integrated internal component with no external relay socket. Modern European platforms typically use a Light Control Module or Body Control Module with solid-state high-side drivers rather than discrete electromechanical relays. The ACES fitment data for this PartTerminologyID must be confirmed from factory service documentation establishing that the platform has a discrete, socketed, externally replaceable relay in the tail lamp circuit path. Listing platforms without a discrete external relay generates orders with no installation point.
What the Relay Does
The Parking Lamp Circuit Architecture
The headlight switch on most modern and late-generation vehicles operates as a trigger device rather than a load-carrying device. When the switch is moved to the first detent position, the switch contact delivers a low-current signal to the relay coil terminal rather than directly energizing the tail lamps. The relay coil energizes, the contacts close, and battery voltage flows through the contacts to the parallel-connected loads of the tail lamp circuit: rear tail lamp bulbs at both sides, front parking lamp bulbs at both sides, instrument cluster backlight, and license plate lamps. All of these loads are connected to the same contact-side output of the relay. When the switch returns to off, the coil trigger signal is removed, the relay de-energizes, and all loads go dark simultaneously.
The instrument cluster backlight being on the same relay circuit as the tail lamps is important for both diagnosis and for understanding the symptom boundary. A buyer who has lost tail light and dash light illumination at the same time, while brake lights and turn signals continue to work, is describing the classic Tail Light Relay fault pattern whether they identify it as a relay problem or not. This cross-system symptom linkage is a diagnostic shortcut that is worth making explicit in listing content, because buyers searching for their symptom by description rather than component name will find it.
Relay Supply and Trigger Path
The relay coil activation signal comes from the headlight switch. On most platforms this signal is a switched ground: the battery-positive coil terminal is supplied from a fused ignition or battery-direct source, and the headlight switch completes the coil ground path when moved to the first position. On other platforms the signal is a switched positive from the headlight switch to the coil, with the coil ground tied to chassis. In either architecture, a headlight switch that fails at its first-position contact produces the same symptom as a failed relay coil: the relay does not activate when the switch is moved to parking position, and the tail lamp circuit does not illuminate. Distinguishing between a failed relay and a failed headlight switch requires probing the coil terminals to confirm whether the activation signal is present before concluding that the relay is the fault.
Platforms Where the Relay Is Absent
On older domestic vehicles, particularly those predating the widespread adoption of relay-based lighting architecture, the headlight switch carries the full tail lamp current through its contacts. There is no relay to replace on these platforms. The failure mode is a burned headlight switch contact rather than a relay fault, and the symptom is identical: tail lights, parking lamps, and dash illumination all fail when the switch is moved to the first position. The headlight switch is the correct repair part on these platforms.
On modern Nissan platforms with the Intelligent Power Distribution Module, the tail lamp relay is a transistor circuit embedded in the IPDM. The module's internal logic activates the tail lamp output based on CAN bus commands from the BCM rather than a direct electrical signal from the switch. There is no socket for a discrete relay in the IPDM, and the IPDM itself is the replacement unit if the tail lamp output fails internally. The service documentation for these platforms describes the IPDM as performing relay ON-OFF control through internal control circuits.
On BMW E46 and related platforms, the Light Control Module controls all exterior lamp outputs through solid-state high-side drivers. The LCM determines bulb-out conditions, manages lighting sequences, and interfaces with the instrument cluster warning system. A buyer who receives a Tail Light Relay and looks for a relay socket on an E46 will find nothing to install it in. Application data that includes these platforms is incorrect regardless of how the symptom is described.
Top Return Scenarios
Blown Fuse Generating a Relay Order
A blown tail light fuse produces the same symptom as a failed relay: all loads on the tail lamp circuit go dark simultaneously when the headlight switch is moved to first position. The fuse is a two-second visual inspection; the relay requires removal and testing. Buyers who replace the relay without checking the fuse, and then find no improvement because the underlying fuse was blown, return the relay and still have no tail lights. The fuse must be the first check on any all-tail-lamps-out complaint. The fuse location on Toyota platforms is typically labeled TAIL in the interior fuse box; on Hyundai and Kia platforms the tail lamp fuse is often in the interior fuse/relay box under the dash on the driver's side.
If the replacement fuse immediately blows when the headlight switch is moved to first position, there is a short to ground somewhere in the tail lamp circuit. The relay is not the fault in this case; installing a relay does not resolve a short circuit and the new fuse will blow regardless. The short must be located and repaired before any electrical component order is valid.
Fuse Blows Repeatedly: Trailer Wiring and Socket Corrosion
A tail light fuse that blows after the headlight switch is activated, whether immediately or after a short drive, almost always indicates a short to ground on the tail lamp supply circuit rather than a relay fault. The most common locations for this short are the rear lamp wire harness where it passes through the trunk lid or tailgate hinge area, the bulb socket housing where heat and corrosion have caused the center contact and socket shell to bridge, the license plate lamp socket where water intrusion has corroded the terminals together, and the trailer wiring harness if one has been installed and the connector has corroded or the harness has chafed against the frame.
Removing each load from the circuit one at a time while testing whether the replacement fuse holds is the standard isolation technique. Disconnect the rear harness plug, replace the fuse, and test. If the fuse holds with the rear harness disconnected, the short is in the rear circuit. Disconnect the license plate lamp, front parking lamp harness, and instrument cluster backlight feed progressively to locate the offending load. This diagnostic process does not involve the relay; ordering a relay during a fuse-blowing complaint is premature unless the relay itself is confirmed to have developed an internal short through its contacts.
Headlight Switch Failure Producing the Tail Light Relay Symptom
On platforms where the headlight switch sends the coil activation trigger to the relay rather than powering the lamps directly, a failed switch contact at the first-position output produces a no-relay-activation result. The relay cannot activate without its coil trigger signal. The symptom is identical to a failed relay coil: no tail lights, no dash lights, no parking lamps, with brake lights and turn signals continuing to work.
The distinction is confirmed by probing the relay coil trigger terminal with the headlight switch moved to first position. If the trigger voltage is absent at the relay coil, the switch is not sending its signal and the fault is in the switch or in the wiring between switch and relay coil terminal. If the trigger voltage is present and the relay still does not activate, the relay coil is the fault. Replacing the relay before this test will produce a correct outcome if the relay is the fault, but will generate a return if the switch is the fault.
On older domestic vehicles where the headlight switch carries the full lamp current directly, a failed switch contact is the only correct diagnosis for this symptom cluster. There is no relay to find on these platforms.
Relay Contacts Welded Closed: Tail Lights Stay On
When the relay contacts weld together, the tail lamp circuit remains energized regardless of headlight switch position. The driver turns off the lights and the tail lamps, parking lamps, and dash illumination remain on. On battery-direct-supply circuits, this drains the battery if the vehicle is parked. The welded contacts scenario is distinguished from a headlight switch stuck in the closed position by the same test used in the Brake Light Relay article: pull the relay from its socket. If the lights extinguish when the relay is removed, the contacts were the fault. If the lights remain on with the relay removed, the switch is stuck closed and is sending its activation signal continuously.
The relay contacts weld under fault conditions, most commonly when the load circuit draws significantly more current than the contacts are rated for. A sustained short to ground in the tail lamp circuit that does not blow the fuse immediately but instead draws elevated current for an extended period can cause contact welding without the fuse opening first. A relay found with welded contacts should prompt investigation of the load circuit for a partial short before a replacement relay is installed.
Trailer Wiring Interaction
Many light trucks, SUVs, and crossovers have factory or aftermarket trailer wiring that connects to the tail lamp circuit at the rear harness. When the trailer wiring harness corrodes or a trailer connector is damaged, the short circuit created at the trailer end feeds backward through the harness connector into the vehicle's tail lamp circuit and blows the fuse or overloads the relay contacts. Buyers who resolve a tail light fuse or relay issue without disconnecting and inspecting the trailer harness will experience recurrence on the next drive with the trailer connector plugged in, or sometimes even with no trailer connected if the vehicle-side connector has an internal short.
Factory trailer wiring on pickup trucks and body-on-frame SUVs typically taps into the tail lamp circuit before the fuse protection or through a separate trailer fuse. The wiring runs along the frame rail where it is exposed to road debris, moisture, and abrasion. A short at the frame-mounted harness plug or at the factory 4-pin or 7-pin trailer connector produces a blown tail lamp fuse as its first symptom.
Platform Without a Relay Generates a Return
A buyer on an older domestic platform without a discrete relay, or on a modern Nissan platform where the relay is integrated into the IPDM, orders a relay after searching the symptom and finding that a relay is the correct part on similarly described complaints from other platforms. The relay arrives, the buyer looks in the underdash relay center and finds no empty socket that matches the relay format, and the relay is returned unused.
This is an application data problem rather than a diagnostic problem. Listings must include only platforms confirmed to have a discrete socketed relay in the tail lamp circuit. Confirming platform relay architecture requires factory service documentation for each specific model year, not inference from similar platforms or symptom-based search results.
Listing Requirements
Every listing for PartTerminologyID 3836 should include:
ACES fitment data confirmed from factory service documentation for platforms with a discrete, socketed, externally replaceable relay in the tail lamp circuit; must exclude platforms where the relay is absent, integrated into a power distribution module, or implemented as a solid-state driver in a control module
A description of which circuit loads share the relay output: rear tail lamps, front parking lamps, instrument cluster backlight, and license plate lamps in most applications
A note that the tail light fuse is the first check before ordering a relay, and that a repeatedly blown fuse indicates a short circuit that the relay cannot resolve
A note that the headlight switch sending the coil trigger to the relay is an upstream cause of the no-activation symptom, and that the trigger must be confirmed present before the relay is condemned
A note on trailer wiring as a recurring source of tail lamp circuit faults on tow-equipped platforms
Frequently Asked Questions
My tail lights, parking lights, and dashboard illumination all stopped working at the same time. My brake lights and turn signals work. Is this the relay?
This is the exact symptom cluster that describes a fault in the tail lamp relay circuit. Before ordering the relay, confirm two things: first, check the tail lamp fuse in the interior fuse box. A blown fuse produces this symptom and takes two seconds to identify. If the fuse is intact, move to the relay. With the headlight switch moved to first position, probe the relay coil trigger terminal to confirm whether the activation signal is reaching the relay. If the signal is present and the relay contacts do not close, the relay is the fault. If the signal is absent, the headlight switch or its wiring to the relay is the fault.
Every time I replace the tail light fuse it blows immediately when I turn on the headlights. Is this the relay?
A fuse that blows immediately or within seconds of switch activation indicates a hard short to ground in the tail lamp supply circuit. The relay is not the cause of a blown fuse unless the relay itself has developed an internal short. The correct diagnostic procedure is to disconnect the tail lamp circuit loads one at a time while testing whether a replacement fuse holds. Start by disconnecting the rear harness plug, then the front parking lamp connectors, the license plate lamp, and the instrument cluster backlight feed. If you have trailer wiring, disconnect the trailer harness plug at the vehicle connector before testing. When the fuse stops blowing after disconnecting a specific load, that circuit segment contains the short. The relay does not need to be replaced to resolve a short circuit fault.
My tail lights stay on after I turn off the headlight switch. Is this the relay?
Tail lights remaining on after the headlight switch is off can be either a relay with welded contacts or a headlight switch stuck in the closed position. Pull the relay from its socket with the lights on. If the lights extinguish when the relay is removed, the relay contacts are welded and the relay is the fault. If the lights remain on with the relay removed, the headlight switch is sending a continuous activation signal and is the fault. Confirm the switch by disconnecting the switch connector: if the lights extinguish when the switch is disconnected, the switch is stuck closed.
My car does not seem to have a tail light relay. The tail lamp fuse is good and the bulbs are good, but still no tail lights. What should I check?
Not all vehicles have a discrete tail light relay. On many domestic platforms the headlight switch carries the tail lamp current directly through its contacts with no relay in the circuit. If your platform does not have a relay, the headlight switch is the most likely fault for an all-tail-lamps-out complaint with intact fuse and good bulbs. On modern Nissan platforms with an IPDM, the tail lamp relay function is inside the module and there is no external relay to replace. On BMW and other European platforms with a Light Control Module, the LCM is the tail lamp output driver. Confirming your platform's architecture from the factory service manual before ordering prevents ordering a relay that has no installation point on your vehicle.
How do I know if the tail light relay is actually bad rather than the headlight switch or a ground fault?
The relay can be tested out of the circuit using a nine-volt battery and a multimeter. Connect the nine-volt positive to the relay coil positive terminal and the negative to the coil negative terminal. The relay should activate with an audible click. Measure continuity between the relay's load input and output terminals: with the coil energized, continuity should be below one ohm; with the coil de-energized, continuity should be open. If the relay coil does not activate with nine-volt supply, the coil is open and the relay is faulty. If the coil activates but the contacts do not show continuity when energized, the contact set is open and the relay is faulty. If the relay passes this test and the activation signal from the headlight switch is confirmed reaching the coil terminal in the vehicle, the fault is elsewhere in the circuit.
What Sellers Get Wrong
Not naming the shared circuit loads in the listing
The most powerful diagnostic statement a Tail Light Relay listing can make is this: when the relay fails, it takes out the tail lights, the parking lights, the instrument cluster backlight, and the license plate lamps simultaneously. Brake lights and turn signals remain functional. Most listings describe only the tail light function. A buyer who has lost their dash illumination along with their tail lights and is searching for a dash light relay or an instrument cluster relay will not find this listing if the shared circuit is not named. The symptom-to-relay connection is most clearly made when the listing names all of the loads that the relay controls rather than only the primary load suggested by the PartTerminologyID name.
Treating the fuse check as optional
The tail light fuse check takes under two minutes and eliminates the most common non-relay cause of the symptom. A listing that proceeds directly to relay identification and replacement without foregrounding the fuse check will generate returns from buyers who had blown fuses. The fuse check is not optional background content; it is the first sentence of the diagnostic section.
Not explaining that repeated fuse blowing excludes the relay
A buyer whose fuse immediately blows on replacement does not need a relay. The relay cannot resolve a short circuit in the load wiring, and installing a relay into a circuit that has a short will simply blow the fuse again. A listing that does not explain the distinction between a one-time failed fuse and a repeatedly blowing fuse will receive returns from buyers in the latter group who followed the standard tail light relay diagnostic and found no improvement.
Not warning about the IPDM and LCM on modern platforms
The IPDM on Nissan and the LCM on BMW are integrated module systems that have no discrete relay socket for this function. A buyer on a 2007 or newer Nissan Altima, Rogue, or Frontier who receives a relay and looks in the relay center will find no socket for it. Application data that extends beyond confirmed discrete-relay platforms is the primary source of these uninstallable-part returns. The warning does not belong only in the fitment data; it belongs in the listing body where buyers of problem vehicles will encounter it before completing a purchase.
Ignoring the trailer wiring contribution on truck and SUV platforms
Tail light fuse failures on tow-equipped pickups, body-on-frame SUVs, and crossovers with trailer wiring packages recur reliably if the trailer harness is not addressed alongside the relay or fuse replacement. A buyer who installs a new relay and fuse, drives without a trailer for a week, and then plugs in a trailer connector that has an internal short will immediately blow the fuse again and conclude the repair failed. Listing content that identifies trailer wiring inspection as a specific step for tow-equipped vehicles, separate from the standard bulb socket and harness checks, prevents this recurrence return.
Cross-Sell Logic
Tail lamp fuse (the first check before ordering this relay; a blown fuse produces the same symptom as a failed relay and replaces in under two minutes; the relay fuse should always be confirmed intact before any relay purchase is made)
Headlight switch or multifunction switch (the component that sends the coil activation trigger to the relay; a failed headlight switch first-position contact produces the same symptom as a failed relay coil; the trigger signal must be confirmed present at the relay coil before the switch is eliminated as the fault)
Tail lamp bulbs and sockets (failed individual tail lamp bulbs produce single-side or single-position loss, not bilateral loss; but socket corrosion and socket contact bridging can produce a short that repeatedly blows the fuse, and socket replacement is often the correct repair for a fuse-blowing complaint rather than a relay complaint)
License plate lamp socket or pigtail (a common short-circuit source that feeds current back through the tail lamp supply circuit; often overlooked because the license plate lamp is the last position that buyers inspect, but it is frequently the origin of the short on platforms where the harness runs in a corrosion-prone area)
Trailer wiring connector or trailer harness (on tow-equipped platforms, the trailer connector and harness are among the most frequently shorted elements in the tail lamp circuit; inspecting and replacing the connector resolves recurring fuse failures that persist after relay and bulb socket repairs)
BCM or IPDM (on modern platforms where the tail lamp relay function is integrated into the module rather than offered as a discrete relay; when the discrete relay is not the applicable part for the platform, the module is the relevant diagnostic target)
Instrument cluster backlight dimmer switch (on platforms where the dash illumination is on the same circuit as the tail lamps; loss of instrument cluster backlight is typically traced to the same relay as the tail lamps, but a failed rheostat or dimmer switch can produce dim or absent dash backlighting while the tail lamps continue to operate normally)
Final Take
PartTerminologyID 3836 generates a higher-than-average diagnostic confusion rate because the symptom it produces, all tail lamps and parking lamps dark simultaneously, is also the symptom of a blown fuse, a failed headlight switch, and a dead short in the rear harness. Three of these four possibilities do not call for a relay. The one that does call for a relay has a specific diagnostic confirmation: the fuse is intact, the headlight switch trigger signal is reaching the relay coil terminal, and the relay contacts are confirmed open when the coil is energized. A buyer who has walked through that sequence before ordering has the right part. A buyer who has not walked through that sequence is ordering against a symptom rather than a confirmed fault, and the return rate reflects it.
The listing that performs best on this PartTerminologyID is the one that makes the symptom cluster recognizable, the fuse check mandatory, the headlight switch upstream check visible, and the short-circuit scenario clearly separated from the relay scenario. Buyers who arrive with a repeatedly blowing fuse are not relay customers. Buyers who arrive with a non-blowing fuse, an intact headlight switch trigger signal, and relay contacts that do not close are relay customers. The listing that teaches this distinction converts the second group efficiently and deflects the first group to the correct repair path before they place an order.
Platform coverage on this PartTerminologyID requires exceptional care. The same symptom description appears on vehicles that have a discrete relay, vehicles that have a headlight switch without a relay, vehicles with an IPDM-integrated relay, and vehicles with a solid-state LCM output. Only the first of these four calls for this relay. Application data that includes the other three produces returns that cannot be resolved by replacing the relay because the relay does not exist as a discrete external component on those platforms. Confirming each application from factory service documentation is not optional; it is the only data source that accurately distinguishes relay-present platforms from the rest.